by Rob Hullar
Just when I thought we had solved the problems we had been having with our One-Step High Fire Decal Paper, Murphy showed his face again. I’ve previously written about the quality challenges we had been experiencing with the one-step paper and my decision to move everyone to the lamination method. I backed off of that position after had continuing good luck with the new one-step paper. Sadly, we are back to recommending the lamination method.
For those who don’t understand what the lamination method is all about, here’s a brief tutorial.
Basically, all one-step decals use two components. One is the white backing paper, a fairly heavy very absorbent paper. It has a light coating of a release agent which dissolves when the paper is soaked. This paper is manufactured on a huge scale globally and is usually 180 gsm (grams per square meter) or 150 gsm. The surface quality is always consistent and for all practical purposes does not vary from sheet to sheet or batch to batch. This is often called white waterslide paper.
The second component is the decal film itself.
For commercially prepared one-step papers, this is applied as a liquid in a silk screening process and you now have a ready-to-use one-step decal sheet. The problem we have been experiencing is either due to inconsistencies in the film liquid or in the silk screening process. Neither the supplier nor the manufacturer have taken responsibility for this quality problem.
Lamination Decal Process Update
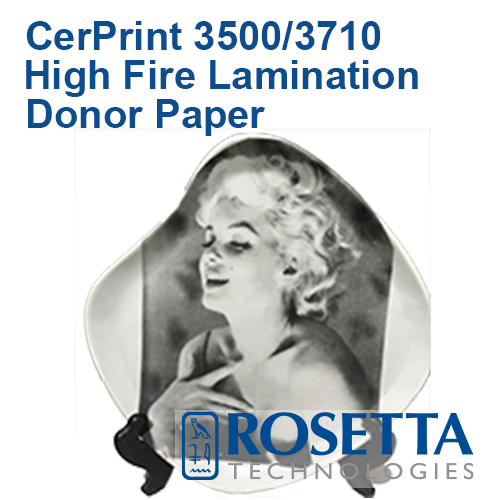
The lamination process, described simply, creates a sheet of decals with printed images that are ready to cut, soak and apply. The two components are the same: white waterslide paper described above and a sheet of “donor” lamination paper. In lamination, the second sheet has the decal film and a light backing sheet.
We print on the white waterslide paper, on the shiny side. Laser printers like this paper because it is smooth and free of surface variations.
Once we have printed our images, we take a sheet of the donor paper and sandwich the printed sheet and the donor paper (film side facing the printed toner side. We then run that through a laminator, which adheres the toner to the donor paper film. We then peel the light backing sheet off and discard it. We now have a complete sheet of decals ready to cut, soak and apply. Pretty simple, really.
All you need is a good laminator. In the past, I recommended the Scotch TL906, which I used for a long time. Then I began to hear from some of our customers that no matter how many times they ran the decal sheets through the laminator, it failed to laminate completely. I believe that Scotch had some heat issues in the field and has changed the maximum temperature to something lower. And then, my TL906 stopped working, as in stopped heating. You get what you pay for, I guess.
We now recommend the Akiles Pro Lam Plus 330, available online from vendors like Amazon. It is more expensive than the TL906, but it is a workhorse and has an adjustable heat dial, which is great. I set mine to 280 degrees and it works fine.
For the visual folks out there, view our short Lamination video slide show . It shows the old Scotch laminator, but you’ll get the idea.
So, that’s the update on both decal paper and laminators. If you have any questions, please email me at [email protected].

